We're in the process of moving house and our new one is still pretty much in the gutting and rebuilding stage at the moment. However, I'm desperate to get on with making some cheese. The conditions in the kitchen where we're staying at the moment serve up enough challenges as it is, without the added difficulty of attempting to find a suitable and clean environment to age a hard cheese in. So, the plan is to make haloumi which matures in a brine and won't object to the humidity or temperature of wherever I leave it to age.
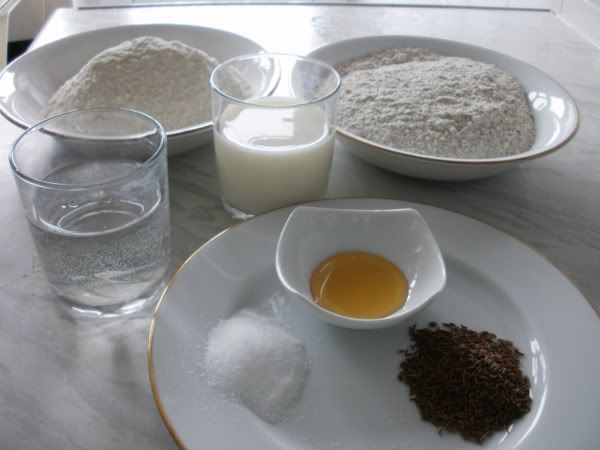
I'm also limited to the amount I can make. My largest cooking vessel is 1 1/2 gallons and my cheese press probably can't handle a particularly high yield. So I'm halving the recipe to a modest 1 gallon of whole milk and 2 ounces of prepared mesophilic starter culture.

In preparation, the night before I took the milk out of the fridge and sterilised all the equipment for the morning. This will be an all day effort and I don't want to delay the start by waiting for the milk to get up to temperature and the Milton tablets to do their business.

The milk is heated to a delicate 30degC, this should not be done over direct heat. As I obviously don't have a vessel large enough to hold my largest vessel I've opted to do this in the sink, which presents me with the first problem of this kitchen in that the plug leaks and has to be packed around with cling film to keep the water in. Also doing this will mean you need to pay constant attention to the temperature and occasionally drain and replace the water in the sink which could lead to an infection issue as the thermometer will be constantly in and out of the milk.

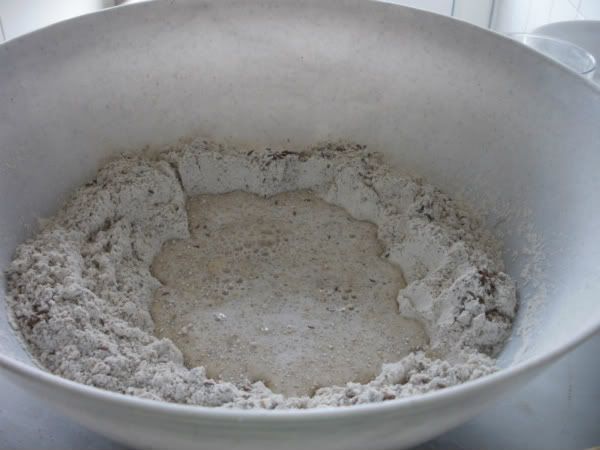
Once at 30degC pitch in the starter culture and a few drops (1\4 a teaspoon) of liquid rennet. This needs to be stirred in an up and down motion (to evenly distribute the rennet) and left to set for 30-45 minutes until the milk gives a clean break with the thermometer. This should look something like this:

It took an extra hour for mine to get to this stage, and really I should probably have left it a little longer ideally, but I'm getting seriously behind on schedule so I moved on to the next stage. Cut the curds into half inch cubes with a sharp knife. That means cut across one way, turn 90 degrees and cut across the other way, then cut diagonals to slice across the curds below the surface.

Now bring the temperature up to 40degC over the course of 45 minutes. About 1 degree every 5 minutes. This involves constant attention, you have to gently stir the curds from time to time to keep them from matting. Mine are particularly fragile as I didn't leave them to set for very long. After 45 minutes they are very clearly visible against the whey.

Leave at this temperature for another 20 minutes and carefully ladle the curds into a colinder lined with cheese cloth.

The whey I'm retaining for a bit later so this goes back into the milk containers from this morning. On a side note, never throw whey away. You can make the best ricotta just by heating it on a stove and adding some lemon juice. But that's for another day...
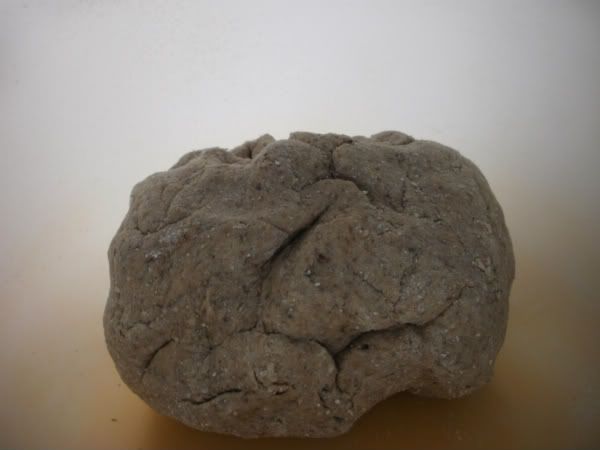
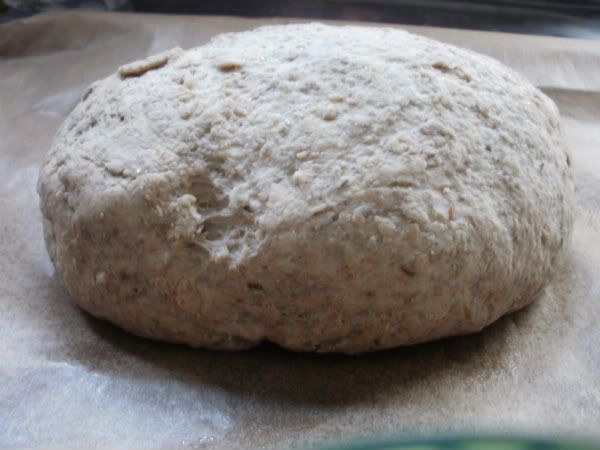
Press the curds into moulds and press at 30lb of pressure for an hour, then re-bandage, turn over and press at 50lb of pressure for 30 minutes.

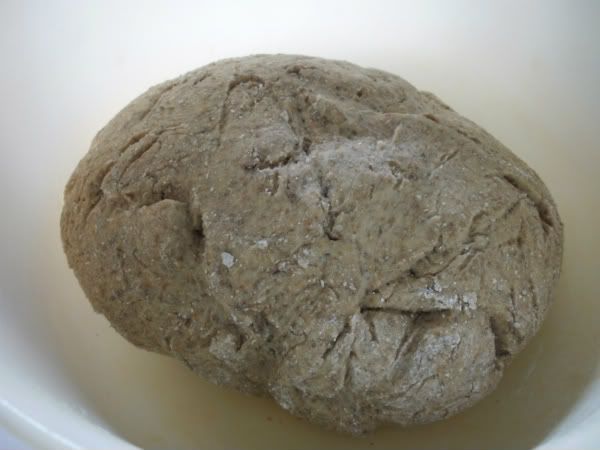
As you can see it's risky business, a bit like playing Buckaroo but with slightly more dire consequences as 22kg of weight goes crashing about in the kitchen. It's a relief to free the 2 moulds of curds and admire how well they turned out.

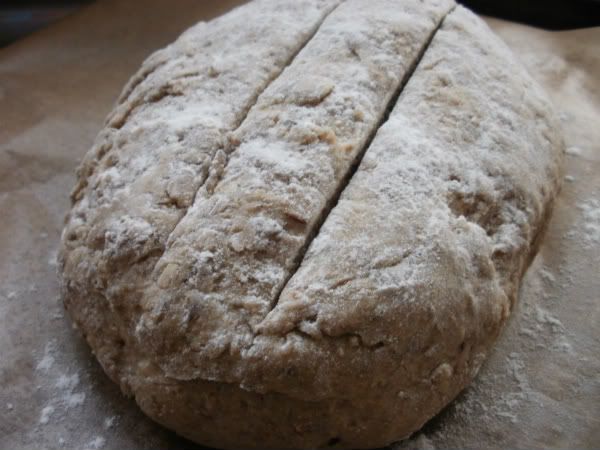
Cut them into 3 inch cubes, or in my case cut them in half as they're already quite small.
In a bit I'm going to need some cooled brine so I'd better get on with that. Add 500g of kosher salt to 1 gallon of nearly boiling water and leave to cool to make a saturated brine solution.
Bring that reserved whey up to between 80 and 90degC and cook the curds in the whey for 1 hour.

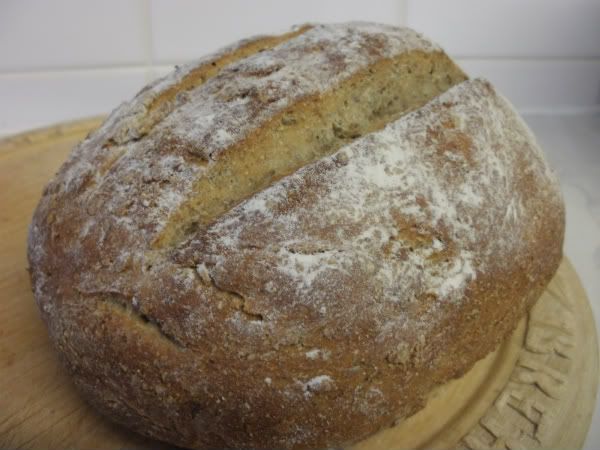
After an hour they should be firm with a texture a bit like chicken meat. Place them in a colinder and salt them with 25g of kosher salt. Now just leave them for 2-4 hours in the colinder.

Earlier I had prepared a saturated brine solution and this is what the cheese will age in. Leave it for 60 days to develop a true flavour.

I'll come back to these in March! :-)
If you like halloumi, consider holidays in Cyprus.