One day I intend to become an expert tomato farmer, because the processing of tomatoes into sauces and soups is probably one of the most satisfying things I do in the kitchen. I have written about this method for making sauce for pizza, however I now share with you my favourite tomato sauce recipe, suitable for soups, pizza, pasta, or just a great base for whatever else you can think of. This will make 2 X 750ml containers of soup (enough for 2 people in each container) and 2 X 275g of sauce (enough for a large pizza or pasta dish for 2).
Ingredients
300g cherry tomatoes
700g baby plum tomatoes
2 large beef tomatoes
2kg salad tomatoes
2 sweet red peppers
Olive oil
Garlic salt
Black pepper
Mixed herbs

I buy tomatoes a week before I use them and let them ripen and develop flavour on my windowsill. It really does make a hell of a difference. A fresh supermarket bought tomato can last a couple of weeks on a sunny windowsill before its time to worry about rotting.
To start with I put all my cherry and baby plum tomatoes on to simmer in a good glug of olive oil.

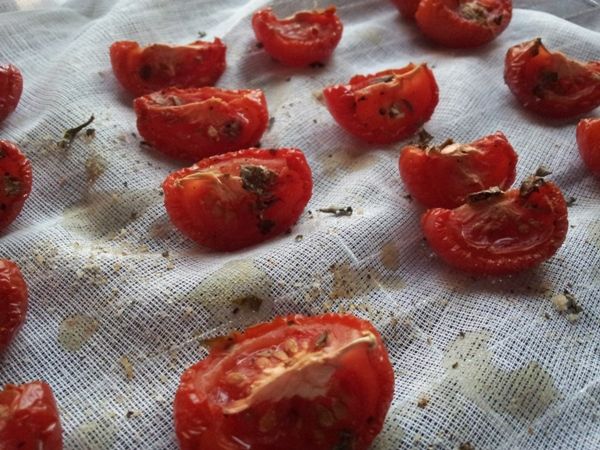
The beef tomatoes I chop into chunky slices and the salad tomatoes I cut into quarters. These are spread on a baking tray and seasoned with olive oil, garlic salt, black pepper and some mixed herbs.

The sweet red peppers don't just add an amazing flavour to this, they also colour it. Tomato sauce is orange, by adding the peppers it becomes a richer bright red colour. They're absolutely essential to this sauce. I slice them open down one side and scoop out all the seeds before stuffing them with some of the cherry and plum tomatoes from the hob.

The tomatoes and peppers all go in the oven at 170degC for 40mins, just until they begin to char slightly. Meanwhile the cherry and plum tomatoes should be well softened and will pop and break up easily when stirred. Take them off the heat and blend them, before straining them through a sieve, pushing it all through with the back of a spoon until all you have left is seeds and skins in the sieve. Keep this sauce aside for now.

When your roasting tomatoes and peppers are singed and ready, take them out the oven and drain off all the juice into tall glasses, reserve this oily juice.

As the juice cools the oil will rise to the top, skim this off and keep it. This oil will have loads of tomato flavour, I like to add it to fresh pop corn.

Again blend your tomatoes and peppers before pushing the mixture through a sieve and straight into a large pot.

That's all the hard work done! Now simply add to the pot the juice in the glasses and the sauce from the cherry and plum tomatoes. Stir it all together and bring it up to a simmer. At this point you have a big batch of tomato soup.

About half the mixture I remove into pour and store bags, cool and freeze as soup.

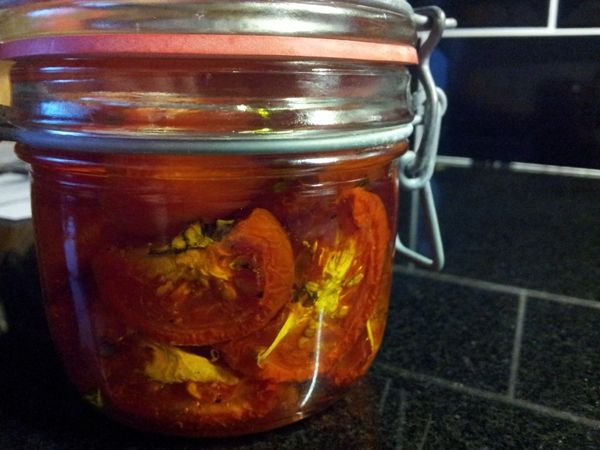
The rest I leave to gently simmer and reduce. As it simmers a scum will collect on the surface. Swoop in with a clean spoon every now and then and remove this before giving it all a bit of a stir. As the sauce gets lower it will spit violently so a loose covering with a spit guard or a towel might be a good idea. The sauce is at the right consistency when you can draw a line to the bottom of the pot in it. At this point half fill 2 jars with sauce. Whilst you do this the sauce is still reducing and will caramelise on the base slightly, which is perfect. Make sure you don't let it burn too much and keep stirring it in. Fill up the jars with the remaining sauce and you're done.

If you're a canning pro then this is the perfect time to use those skills. Personally I just freeze them.