Saturday 31 March 2012

Simple Chilli Paste

Just knocked together a quick chilli paste for a recipe I'll be doing soon. Seemed worth a short blog entry. This only made 2 teaspoons, because that's all I needed. Obviously scale it all up to make more.


Ingredients

2 fresh Chillis

About 2 tbsp Cider Vinegar


All I did was washed the chillis and popped them in the food processor with just enough vinegar to keep the mixture moving. Then whilst blitzing added a dash of mirin to take the edge off the bitterness and the vinegar and a pinch of salt. If you don't have mirin then a simple syrup, some honey or even half a teaspoon of sugar would do.


Then I reduced the mixture in a pan until I had fried out enough moisture to make a paste.


It's very tasty, but hot, make no mistake!


It'd do for dipping if you added a little oil and honey to the pan and didn't reduce it as much.

Friday 30 March 2012

Pain de Campagne

This is a great French country style bread that uses a starter, you need to make that up the day before. It’s relatively little hassle and makes a great loaf, not as chewy as you might expect.

For the starter (a poolish):
200ml Water
175g White Bread Flour
50g Wholemeal flour
¼ teaspoon Dried Yeast

Mix up your starter and leave it to sponge, covered with cling film, at room temperature for about 8-10 hours. You could leave it for a little less time, especially if you’ve got the heating turned up. When it’s ready it’ll go from looking something like this:

To something like this:

Now to combine the rest of the Ingredients to make the dough:
120ml luke warm Water
250g White Bread Flour
50g Wholemeal Flour
25g Rye Flour
1 ½ tsp Salt
½ tsp Sugar
½ tsp Dried Yeast

Start by flouring a bowl with some of the white flour adding the starter and pouring in your water.

Mix this up to loosen the starter mix and make it easier to combine the other ingredients, then sieve all the other ingredients together into the bowl. Mix up to make a firm dough and tip out onto a floured work top. Work it and knead it for a few minutes and plump it up into a neat round cushion.

Then transfer to an oiled sheet on a baking tray and cover with an oiled bowl to prove for about an hour or until doubled in bulk.

Pre heat the oven to 220 deg C. Dust the bread with more flour and with a very sharp knife make 3 cuts across the top of the dough, then turn the loaf 90 degrees and make a further 3 cuts.

Bake for about 40 minutes, or until it sounds hollow when you tap the base of the bread.

This accompanied the soft goats cheese I made a rustic country snack. It’s a nice savoury bread that’s well suited to serving with cheese.

Tuesday 27 March 2012

Soft Goats Cheese

This was a wonderfully easy cheese to make and actually yielded a reasonable amount as well. Had I used cows milk this would have worked out far cheaper than buying a spreadable cheese. As it was it worked out about the same, but with the added bonus of having that lovely goat sourness to it as well.

All I needed for this was 2 litres of goats milk brought up to 72degF (sort of room temperature).

I mixed a drop of liquid rennet in to 4-5 tablespoons of skimmed milk (I could have used water, or other milk).

Then I added this and an ounce of mesophilic starter culture to the milk and stirred it in an up and down motion for about a minute.

Then I simply covered this with cling film and left it in a cool room out the way for about 20 hours. After which time the cheese was curdled enough to ladle into some moulds lined with cheese cloth.

I left these to drain in a cool room for 2 days and they lost a lot of liquid in that time.

I tipped out the contents of the cloth into a bowl and stirred in a pinch of salt.

Next I spread out a sheet of cling film on the work surface and generously ground pepper all over it.

I spread the cheese out on the cling film...

... and carefully rolled it up into a log, trying to get as much pepper around the cheese as possible whilst also trying to avoid trapping air in.

Then I simply left this in the fridge for another day for the flavours to develop a bit and hey presto, done!

It really was a fantastically easy and tasty cheese and so inexpensive I’ll be making it a regular. I served it with some home made chutney and sourdough bread.

For future batches I’m going to try draining the cheese for an extra day to hopefully produce a slightly firmer cheese and maybe gently press a little after draining. Then try rolling in something different, such as herbs like chives, or perhaps some crushed dried chilli peppers. Or I may just leave it as it is and have it on toast with honey, one of my favourite ways to enjoy goats cheese.

Thursday 15 March 2012

Pickled Beetroot

Not all the recipes I post up on the blog are tried and tested. I have absolutely no idea how these will turn out, but I thought it might be fun to try and everyone can have a good laugh at me and point out the many obvious flaws in my method (chopping them up before roasting, leaving the skins on, roasting with the honey rather than adding it after).

Still, here goes... I washed the beetroot thoroughly, topped and tailed them and chopped them up. Then roasted at about 180degC, drizzled with honey and sprayed with a little oil for about 40 minutes. They were tender and tasty for the most part but still had a bit of bite in the middle.

Whilst they were in I made up a light brine solution and allowed it to cool. A 5 percent brine is recommended, so for 1 litre of water you would dissolve 50g of kosher salt (or in my case 500ml of water and 25g salt). This is strong enough to preserve the veg and prevent the forming of unwanted bacteria, but allow the lactobacillus to grow and slightly sour the beetroot.

I placed all my beetroot into a jar and made up a quick on the spot mix of herbs:
1 tsp Dried Rosemary
1 tsp Dried Thyme
1 tsp Minced Garlic
1 and a half tsp Toasted Peppercorns

I washed out my roasting pan juices with the brine and poured it over the beetroot in stages to try and get as much air out from between the beetroot as possible. Finally, when full, I covered the jar with some cling film and sealed the lid.

In a couple of weeks I'll try one of the beetroot and check the sourness and flavour. If it all looks good and my plan has worked then I'll pour out the brine, boil it to halt the fermenting, cool it and pour it back in then leave it for about 2 months before they're ready to eat.

Tuesday 13 March 2012

Pickled Shallots

Following the current theme I’m working along of not doing anything too massive until our new kitchen is ready I though a bit of pickling might be a fun project to embark on. This way the fruits of my labours should be just about ready to enjoy by the time we move in.

I’ve gone for beetroot and onions (well, shallots). Shallots because they’re a classic and beetroot because I love it! So for today I’ll start with the shallots which I’m going to pickle in a classic vinegar, spice and sugar method. However, rather than using malt vinegar alone I’m going for a 50 50 mix of cider and malt, partly because I’m a big cider vinegar fan and partly because cider vinegar is something I should be able to produce myself in the near future and this very much appeals to my self sufficient side.

To get started I topped, tailed and peeled my shallots and left them in a bowl with salt sprinkled over in the fridge for 12 hours. This should lift some of the outer skins a little and allow the vinegar to penetrate.

For the pickling spice I have used: 1 tbsp Mustard Seeds
1 tbsp Black Peppercorns
1 tbsp Cloves
1 tbsp Coriander Seeds
1 tbsp Juniper Berries
1 tbsp of Dried Chilli Flakes
Half a tbsp Ground Mace
Half a tbsp Ground Ginger
1 Cinnamon Stick
12 Bay Leaves

I lightly toasted the coriander, mustard and peppercorns and gently cracked them under a plate before adding them to the rest of the spice mix. This should make enough spice mix for my 2 recipes. I placed a little of the spice mix in the bottom of a sterile jar, added half the shallots, sprinkled more spice mix over the top, added the rest of the shallots and sprinkled again more spice mix on. I threw in a couple of pinches of the salt that the onions had been sat in and any juice that had been extracted in the salting.

Finally, I mixed a teaspoon of caster sugar up with my vinegars and poured them over the top in stages, tapping and shaking the jar about to get as many air pockets out as possible. I filled the jar right to the top and carefully laid a cover of cling film in there as well as a security measure in case the seal on the jar fails.

Looking forward to trying these in about 2 months time when we’ll be moved into our new house!

Wednesday 7 March 2012

Crisps

There are a few foods that I have made at home out of more than just sheer bloody mindedness and this is one of them. When my girlfriend was pregnant she had gall stone attacks. I can only imagine how painful these can be, watching them is horrible enough, and in contrast being there at the birth of our daughter was a picnic. We were told that fat triggered the attacks and so were both on a strict diet with no more than 3g of fat in one sitting. One day I'll write the complete fat free cookbook, but for now here is one of the things I made as a tasty low fat alternative to stuff you can buy.


Ingredients

A selection of root vegetables such as potato, carrot, parsnip and beetroot

A little Olive Oil (the low calorie spray on cooking stuff is excellent)

A little cider vinegar

Salt and pepper


For the vegetable crisps

Wash and peel your vegetables.


Using the peeler, shave off the largest pieces you can. Try and get a good diagonal slice across the carrot and the parsnip. This will give you the widest and longest strips. Place your cuts between 2 pieces of paper towel and leave them there to dry out for a bit, say half an hour.


Now line a baking tray with grease proof paper and lightly wipe some olive oil on the paper. Arrange your crisps on the baking sheet and season them well with salt and pepper. If you want to get a bit creative with the flavours then maybe sprinkle some onion powder over, or a bit of vegetable stock cube.


Bake at around 80degC for 45 mins, turn over and bake for another 45 mins, or until they have completely dried out and are just starting to singe at the edges.


Test them as often as you like throughout the baking for crispiness. No matter how crispy the look and feel to prod at the only way you're going to tell is by eating them. Pour into a bowl and adjust the seasoning if needed. Thats it!


Now, for the potato crisps

Again wash and peel the spuds and dry them between paper towel. Potatoes can be particularly juicy, so it pays to thoroughly dry them out and pat them dry. But try to work fast as they will start to brown as the air gets to them.


This time I'm going to brush them lightly with some cider vinegar before sprinkling over some salt.


These ones I, er, deliberately burnt to show you what happens if you turn the oven up towards the end of cooking (I had some bread to get in and they were taking forever). But even slightly overdone as these ones were they were too good to write off and all got eaten.


The story of how I discovered crisps is hardly as interesting as the invention.

Monday 5 March 2012

Cottage Loaf

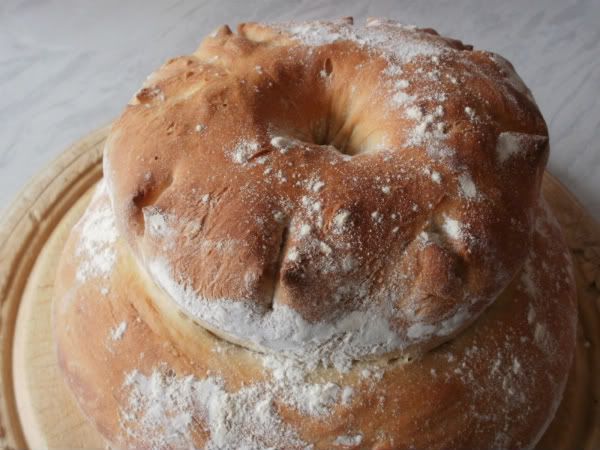
It's a very simple recipe really, but the end result is pretty impressive. I love picking at foods over conversation - vinegars, oils and dips with breads and cold meats, chutneys, salad, etc. A good centrepiece bread like this is great for those occasions.
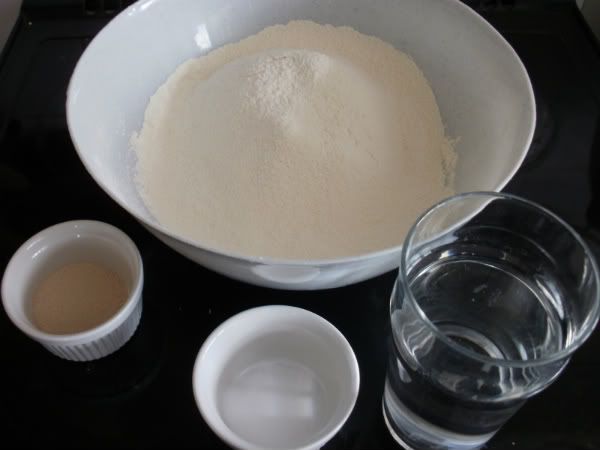
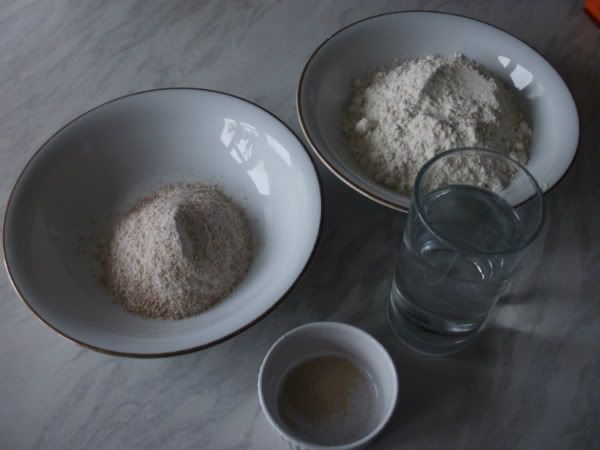
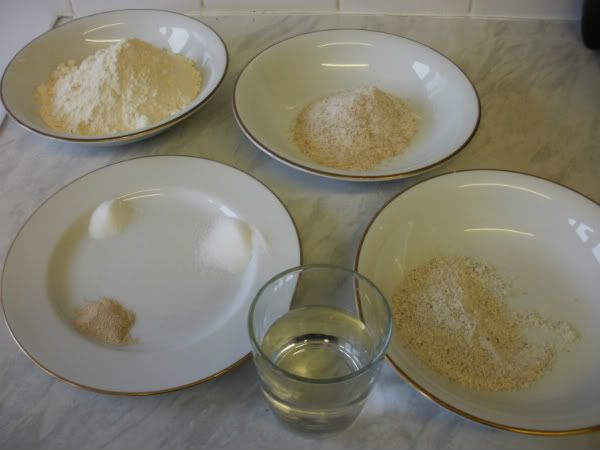
Ingredients

675g White Bread Flour

400ml luke warm Water

2 tsp Salt

10g Yeast


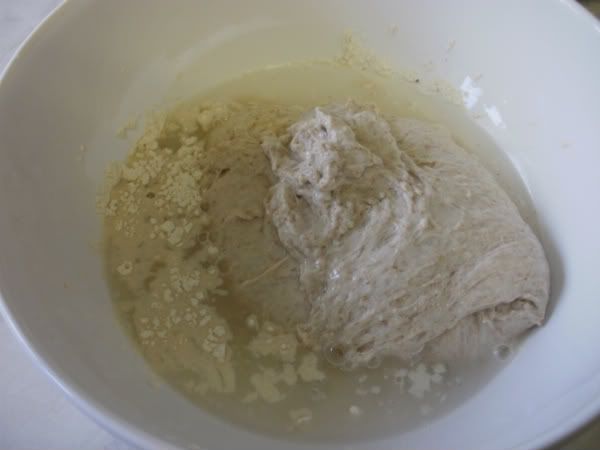
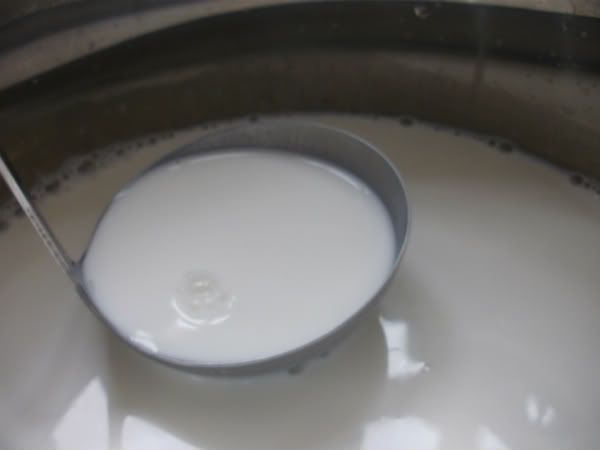
Sieve the flour and salt together into a large bowl. Mix half the water with the yeast until smooth. Make well in the centre of the flour, pour in your yeast, flick some of the surrounding flour onto the yeast and leave for about 15 mins to activate the yeast. A process known as "sponging".


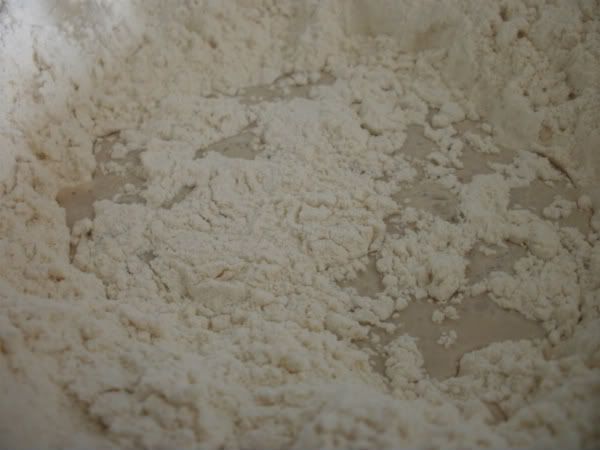
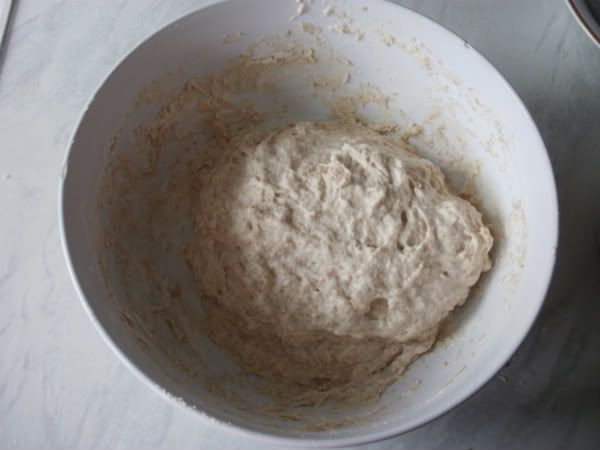
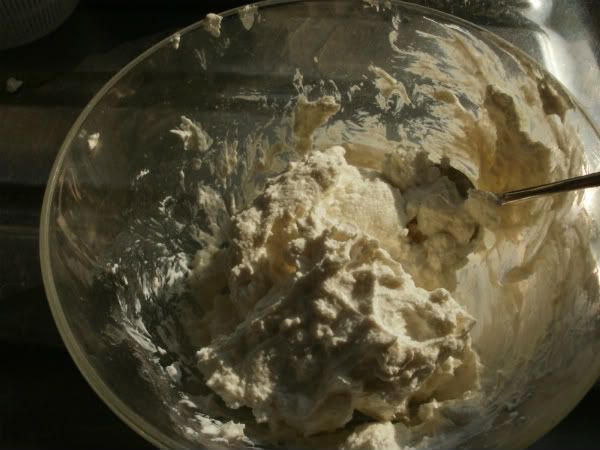
Next pour in the remainder of the water and mix everything up into a smooth firm dough. Turn out onto a floured surface a knead and work for about 10 minutes.


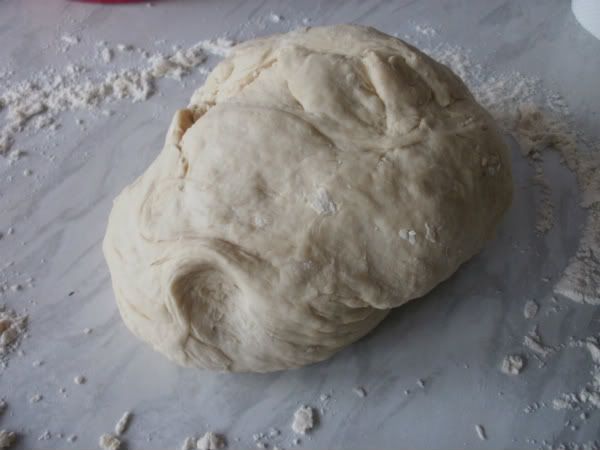
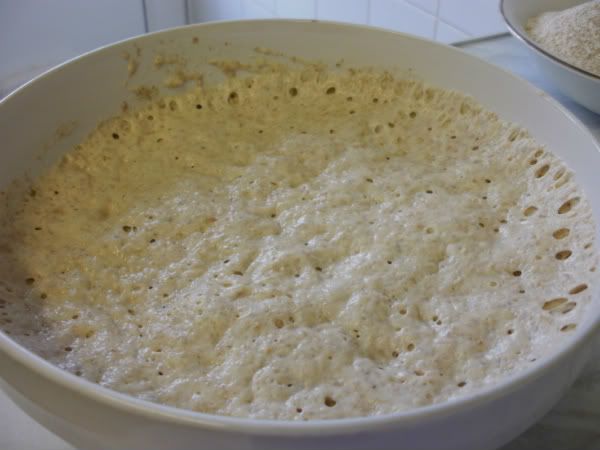
Put this in an oiled bowl covered with cling film and leave it for 1 hour in a warm place to double in bulk.


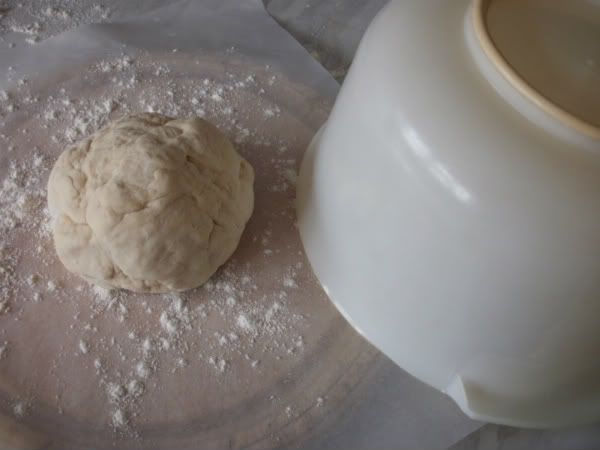
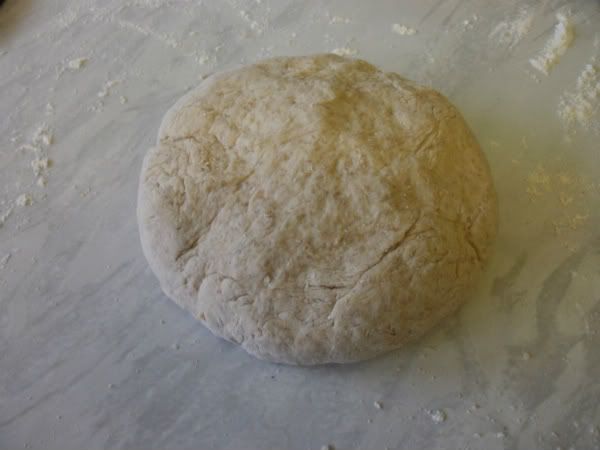
Turn this out onto a floured work surface, knock back (punch it) and work for another couple of minutes, then separate about 1 third of the dough.


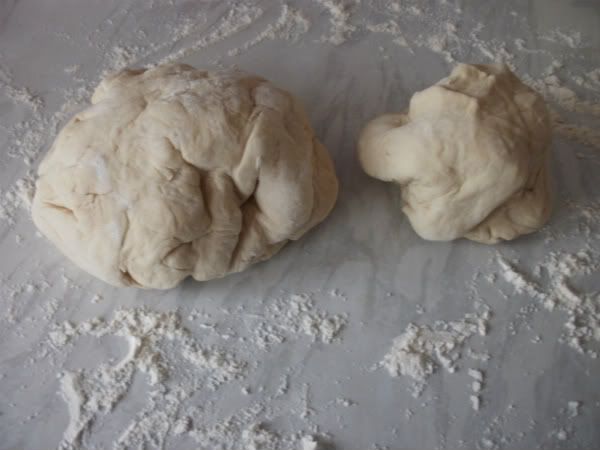
Plump up both pieces into a round cushion shape and leave under an upturned bowl to second prove for about 30 to 45 minutes.


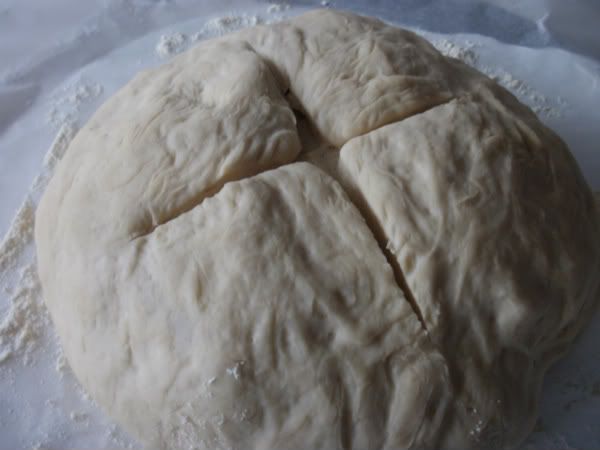
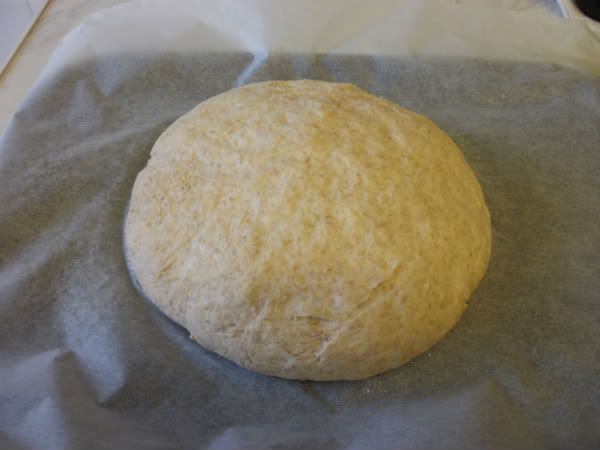
Once that's done it's time for the fun bit! Make a cross in the top of the larger piece with a sharp knife.


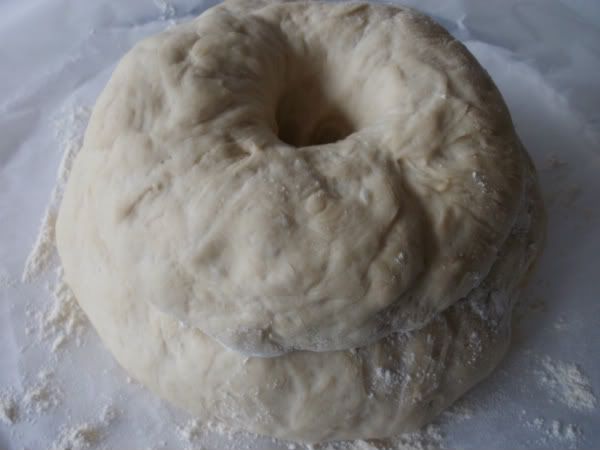
Wet the top and place the smaller piece on it. Then put your thumb and first 2 fingers together and push down into the middle of the loaf.


Now with a pair of scissors make cuts around the top and you loaf is ready for the oven.


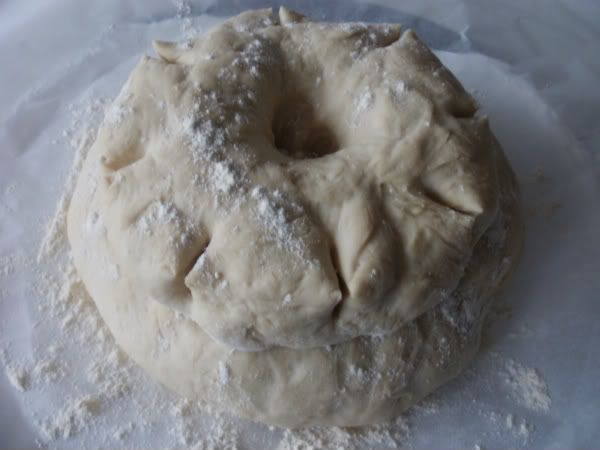
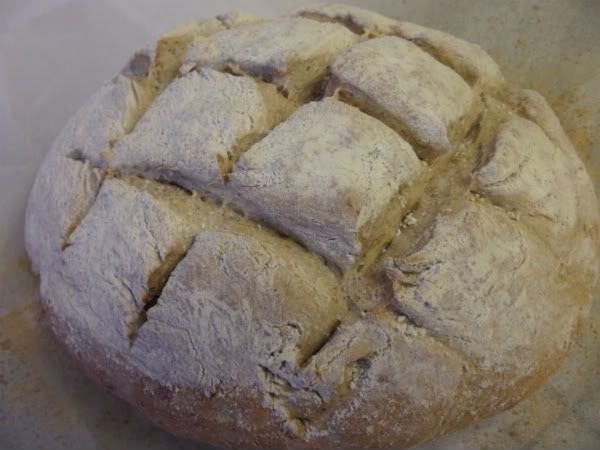
Bake at 220 degC for about 20 to 25 minutes until the base of the loaf sounds hollow when tapped.


Nice and simple and (for bread) really quite quick.


The humble cottage loaf is about as English as they come, though possibly the design was Roman in origin. You don't seem to find them in bakeries too often these days, possibly due to being harder to slice than a traditional loaf. I like to cut them into wedges like a cake, then pull off chunks to dip in soups, oils and vinegars.

Slicing is much easier if you have a traditionally shaped loaf of course, or a bread slicing machine. As with many things there is little more hypnotic than a mass production line as this how it's made video shows.