Friday 20 April 2012

A bit on chickens...

I was going to post all this in relation to some article on how to butcher a chicken or different techniques for roasting chickens, but I'll save them for another day. For some reason I've come across loads of chicken references this morning in the news, social networking sites and email, so I'm posting it now. That and I haven't put anything up for ages because I've been busy building a kitchen. More on that soon as well.

Humans have been keeping chickens for a long time now. Over 3000 years ago geese and pidgeons and ducks were being bred in China. Before that though prehistoric man was capturing junglefowl and raising it for food, the red junglefowl from Southeast Asia still looks very similar to it's modern domestic cousin. Chickens were mainly bred for cock fighting, and in the 16th century they were introduced to America from Europe, around the same time the turkey made its way Eastward. In the 19th century cockfighting was outlawed in America and Great Britain and Canada, however poultry fanciers still used to raise chickens for exhibition purposes. The ancient Chinese and Egyptians already had the whole artificial incubation thing down but the meat and egg side of things really took off in the latter half of the 19th Century when it hit a more commercial scale. In the 1930s new scientific developments helped the industry leap forward and during WW2 food shortages led to even greater interest in poultry farming.

Generally, chickens raised for eggs are called laying hens and chickens raised for meat are called broilers. Obviously, as only female hens are any use for laying, male chicks are killed by CAK (Controlled Atmosphere Killing, basically gassing) and processed for pet food.

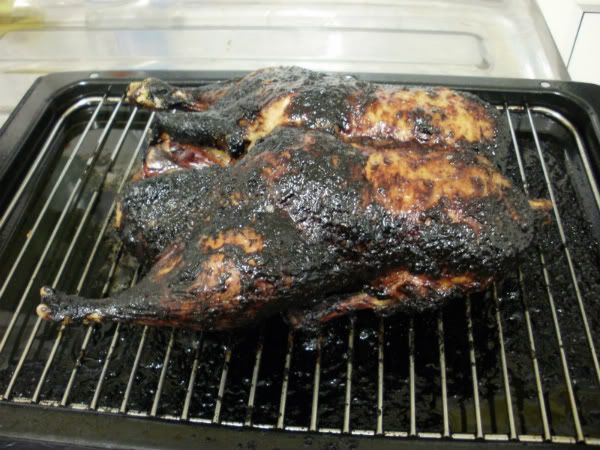
On a lighter note, welfare standards are on the up for the survivors. We're now up to almost 50% of all eggs sold in the UK coming from free range hens, and by free range thats no more than 1000 birds per hectare. Broilers too are doing a bit better, but the problem with keeping happier chickens is that not only do you have to spend a bit more on looking after them but you have to look after them for longer. Free range and organic chickens will grow at a slower and steadier rate and usually take about 8 weeks to reach a suitable weight for slaughter. Personally, I think it's worth the wait - I would rather eat a bird without hock burns on it legs, caused by the chicken's legs not growing at a rate to support its body and falling and wading in its own amonia and waste.

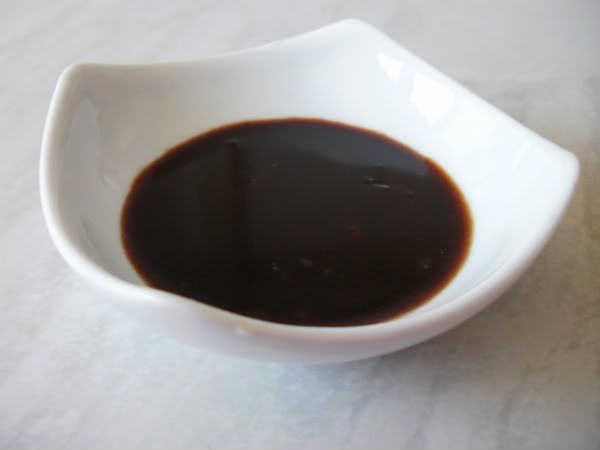
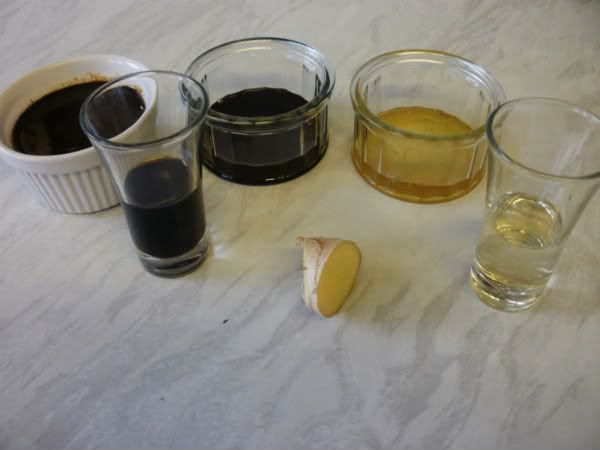
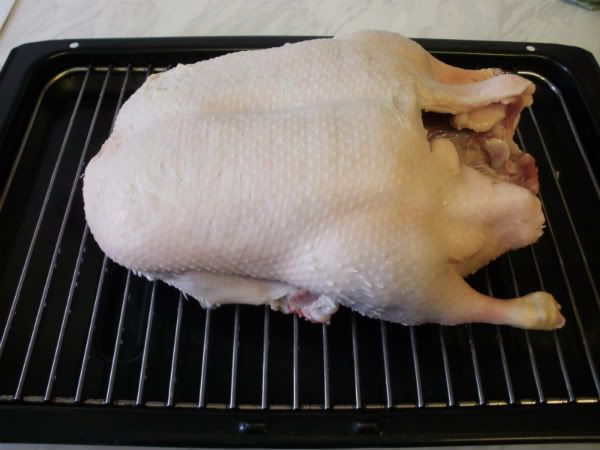
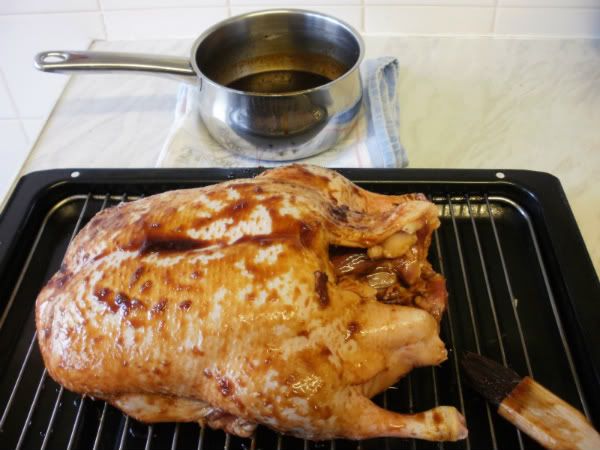
It's a discouraging buiness to enter in to given the profit margins, so next time you see an organic, corn fed, free range chicken in the supermarket I suggest paying that little bit more for it and make it go a bit further by buying 2 and butchering them yourself. Not only does the meat taste and look so much better, but you're doing your bit for chicken welfare.

Friday 6 April 2012

Fried Squid in Sichuan Sauce

I thought I'd finish off my little 5 day Chinese meal event with something a bit special. So I managed to hunt down a recipe that I was able to adapt slightly to use a bit of everything I've been posting about for the past week. Obviously I'm biased, but I think the Sichuan sauce may just be the tastiest sauce I have ever made.


My first job was to get to work on these 2 beautiful squid that my local fishmonger went to the trouble of obtaining specially for me, fresh off the boats at Newhaven Harbour and caught somewhere out in the English Channel.


Here's how to prepare them:

The first cut needs to be across and just under the eye. This chops off the tentacles and you'll be able to easily pop out the beak once separated. Trim the 2 long tentacles to the same length as the rest.


Next pinch the 2 fins together. You can see under the fin where the skin is very thin and rolls away easily.


Once you get your fingers under the skin here both fins and the skin easily all pull away from the rest of the squid in one piece.


Now the messy bit. Gently tug the head away from the body. The insides should follow in one long string.


Finally, pull out the quill.


You may need to go back in and pull out any left over insides this failed to emerge with the head. But when you're done give everything a thorough wash out under the cold tap and you'll be left with neatly prepared and ready to use squid.


Ingredients

2 tbsp Ketchup (see blog post from 06/02/2012 for recipe)

2 tbsp Black Bean Sauce (see blog post from 03/04/2012 for recipe)

2 tbsp Hoisin Sauce (see blog post from 05/04/2012 for recipe)

1 tbsp Plum Sauce (see blog post from 04/03/2012 for recipe)

2 tsp Chilli Paste (see blog post from 31/03/2012 for recipe)

2 tbsp Dark Soy Sauce

2 tbsp Dry Sherry

150ml Chicken Stock

2 tsp Chinese Black Vinegar

2 cloves Garlic

5cm of Fresh Ginger

2 tbsp Groundnut Oil

2 tsp Sesame Oil


I finely grated the garlic and ginger and put them to one side whilst I combined everything else apart from the 2 oils and the chicken stock in a bowl.


Then I heated the groundnut oil in a pan and fried the ginger and garlic for 1 minute...


...before adding the stock and the bowl mixture and leaving to simmer.


Back to my squid... I sliced it up into rings and chopped the tentacles up into twos.


Then coated it in plain flour...


...before frying in batches in some very hot groundnut oil, removing with a slotted spoon into a bowl lined with kitchen towel.


Here's the important bit about cooking squid - Squid goes very chewy and un-appetising if it is cooked for more than 3 minutes, unless you cook it for 0ver 20 minutes which will be long enough to break the proteins back down and tenderise the meat again. So as a rule cook squid for 2 minutes or 25 minutes and you'll be guaranteed soft tasty squid. 2 minutes is plenty of time to crisp up the flour to a golden brown and cook the squid in this recipe.


The fried squid was absolutely delicious on its own. It truly is unbeatable when prepared fresh like this. However, I managed to resist eating all of it then and there and instead poured over my Sichuan sauce.


I then proceeded to sit in my own little private heaven for about 20 minutes. This truly was worth every second of time and every ounce of effort I put into making this dish.

Thursday 5 April 2012

Peking Duck with Hoisin Sauce

Hoisin sauce never tasted this good until I made it. Perhaps I just like it a little extra garlicy, also I don’t very often cook with molasses. Having made a few Chinese recipes now I’ll be using them a lot more. This is supposed to be made with black bean paste. That’s not black bean sauce, black bean paste is a paste made from fermented mung beans. I couldn’t find the stuff anywhere even though I went to some trouble looking. As it turned out miso paste, which is far more readily available, made an excellent substitute.

Ingredients
1 Red Chili
2 cloves Garlic
75ml Dark Soy Sauce
3 tbsp Molasses
4 tsp Sesame Oil
4 tsp Rice Wine Vinegar
100g Miso Paste

Crush the garlic and the chilli into a paste. Use a pestle and mortar for this. I have 2 but they’re living in boxes somewhere at the moment whilst we move so I had to try and make a paste using the back of a spoon in a bowl. There really is a reason that even with all the high tech gadgets we have in the kitchen today we still smash things between 2 stones, there’s nothing does the job quite as well.

Add the vinegar and the oil and mix into chilli and garlic, then add the miso bit by bit to mix it all up into a smooth paste.

Next add the soy sauce, again bit by bit to make a smooth sauce.

And finally carefully heat the molasses to make them pour easier and add them to make a velvety smooth and thick sauce. I say carefully heat them, if you're just going to chuck them in the microwave for a bit then be ready to clean hot sticky molasses off the inside of your microwave.

This makes the perfect dipping sauce, it’s one of the most moreish things I’ve made!

Or...

Ingredients
4 tbsp Hoisin Sauce
1 tbsp Molasses
1 tbsp Runny Honey
1 tbsp Light Soy Sauce
1 1/2 cm Fresh Ginger
1 tbsp Mirin
1/2 tsp Chinese 5 Spice

And then this duck, that I’ve prepared by removing the neck flap and blanching the skin by pouring boiling water straight from the kettle all over, then gently patting dry with paper towels.

I minced the ginger and combined all the ingredients together in a saucepan and brought to the boil, then reduced for about 2 minutes to make Peking Sauce. I brushed the duck all over, inside and out, only using half of the sauce.

Then roasted at 200degC for 45 minutes over a rack to allow the fat to drain away, re-glazed again with the remaining sauce and roasted for a further 45 minutes.

I served it with the remainder the hoisin sauce to dip the duck in at the table. Of course you could always serve this with the classic pancakes and some sliced cucumber and spring onions.

Wednesday 4 April 2012

Breaded Prawns with a Plum Dipping Sauce

This ones a dipping sauce. You could can it and store it in a jar like a jam or a chutney. After making this batch I kept it handy and used it up by eating it with soft cheese spread on toast, notably the soft goats cheese I blogged about on 27/03/2012.

Ingredients
200g ripe Plums
200ml Water
100ml Rice Vinegar
2 Limes
3 small Green Chillis
2.5 cube of Fresh Ginger
1 Onion
100g Brown Sugar

So, you need to wash and chop the plums, juice the limes, de-seed and finely chop the chillis, mince the ginger and dice the onion.

Then add all the ingredients to the pan with a pinch of salt, bring to the boil and just let simmer. Keep an eye on the sauce and every now and then skim off any scum or impurities that may rise to the top.

Leave this to simmer away until reduced to a jam-like thickness.

And once thats done, leave to cool beore storing in a jar. Leaving this a day or 2 will allow the flavours to mull and develop in the jar.

As I mentioned this makes a great every day sauce for dipping and spreading and eating with cheese. As you've de-seeded the chillis it'll be non offensive enough for all tastes. However, I thought I would prepare something a little more interesting.

You will need:
Raw prawns
Bread crumbs
1 egg, maybe 2 depending on how many prawns you have
Plain flour

If you don't have ready made bread crumbs to hand then they can be prepared easily enough. Take some fresh bread and pull off all the crust.

Pull it into little bits and pop in the food processor until you have fine crumbs. Then spread the crumbs out on a dry baking tray and bake in the oven at the lowest setting until the crumbs are stale and dry, but not toasted. Season them fairly heavily with salt and pepper.

Now prepare your prawns. Mine were already shelled, but needed de-veining and butterflying. To do that make a shallow slit along the belly and pull out the vein (the gut) from tail to head. then make a deeper cut going almost going all the way through to the back to allow you to flatten out the prawn.

Now you need to be organised and set up a little production line. Have your crumbs spread out on a plate, beat the egg into a bowl and have another plate covered with flour. Have a baking tray foiled and oiled at the ready. You need to dredge the prawns through the flour, dip them in the egg, coat them in the bread crumbs and then place them straight on the tray.

Now of course these would be great fried, but I developed a taste for the low fat option of baking them. They'll need about 10-15 minutes in the oven at 200degC, then turning and another 10-15 minutes. At the end of which they should be crispy and golden and perfect for dipping.

Breading meat like this is a great way to prepare it and really not too much hassle once you've got the hang of it. It's quite a fun hands on process as well. If you can't be bothered with de-veining a whole bag of prawns every time then chicken strips lend them selves particularly well to it if you add some paprika, more pepper and some onion powder to the bread crumb seasoning. They're great with wedges and ketchup.

Tuesday 3 April 2012

Beef in Black Bean Sauce

Another takeaway classic. The black turtle beans I used for this had a great flavour of their own which I felt I’d missed out on a bit until I made my own sauce. In hindsight they could have done with some overnight soaking in water, but that was simply remedied by adding more water and reducing the sauce again occasionally to cook them for longer and leaving the finished sauce in a container for about 10 hours before I used it in the dish.

Ingredients
75g Black Beans
2.5cm chunk of Fresh Ginger
2 cloves Garlic
1 tbsp Groundnut Oil
2 tbsp Sesame Oil
1 tbsp Mirin
150 ml Chicken Stock
3 tbsp Dark Soy Sauce
1 tsp Sugar
1 tsp Cornflour

For starters the beans need to be roughly chopped (that’s a food processor job), the garlic crushed and the ginger minced. Then heat the groundnut and sesame oil together in a pan and throw them in to fry on a high heat for about a minute.

Then add the rest of the ingredients minus the cornflour and cook for 2 or 3 minutes, or until the beans are tender.

Finally mix the cornflour with about a tiny bit of water and add it to thicken the sauce. That’s the sauce done!

I think there are few meats better suited to black bean sauce than beef. So I cut some steak up into strips and fried it in a little groundnut oil just to seal it before adding some green peppers and mushrooms.

Then in goes the sauce and I left everything to simmer gently whilst I prepared the rest of the meal.

I served it up with some plain rice to soak up the sauce and some steamed broccoli.

Delicious way to make use of these tasty beans.

Monday 2 April 2012

Sweet and Sour Pork

Sweet and sour is a classic on Chinese takeaway menus. I always go for the pork but this sauce would work with just about any meat. Seeing as I'm going to be making a few sauces in the coming days that use ketchup as an ingredient I made up a big batch. See my blog post on 06/02/2012 for the recipe.

Ingredients
150ml Rice Wine Vinegar
3 tbsp Soft Brown Sugar
2 tbsp Ketchup
2 tbsp Dry Sherry
2 tsp Light Soy Sauce
2 tbsp Molasses
4 tsp Cornflour

Add all the ingredients apart from the cornflour to the pan and bring to the boil.

Then mix the cornflour in a little water, add to the pan to thicken to a gloopy sauce and let simmer for about 5 minutes. Thats your sauce done!

While that was doing I cooked off some pork shoulder steak in a little groundnut oil.

For me I think trying to be healthy and lean with pork is a waste of good animal. Accept that it has amazing tasting fat on it and buy a cut with good fat marbling. Why do you think crackling tastes so good?

Add the sauce to the pork and stir it in with the pork juices released from the pork and let the pork finish cooking in the sauce.

I served this up with some plain rice and some steamed veg as there was plenty of sauce to drench everything in.

The pork released quite a lot of juices in the wok which not only added to the volume of the sauce but mellowed out the vinegar perfectly.