Thursday 26 July 2012

Maître d’Hôtel Butter

Maître d’Hôtel Butter

Well, I blogged about how to make cheddar a couple of days ago. I realise not everyone may be up for that so I've decided to do something that's also relatively impressive but easy and not as time consuming. I'll explain how to make the butter yourself from cream, but if you're feeling lazy and just want some awesome compound butter then buy some unsalted butter, leave it out to get to room temperature and soften, and pick this up from where I added the seasonings.

So, making the butter. I didn't want loads of the stuff so I just started off with half a pint of double cream at room temperature.

Pour this into a nice large mason jar. It needs to have plenty of room to slosh about in there.

Now screw the lid on tight and shake up and down for all your worth. The cream will coat the inside of the jar as you'd expect and quite quickly you'll notice the consistency change. The cream will stop sloshing about, at this point you have made whipped cream. Keep going (it's a great workout) until you feel it change again and something is thudding about in the jar in a thin liquid. It took me 15 minutes solid shaking to get to this point. The solid mass is butter and the liquid is buttermilk. Another good indication is the cream that was coating the inside of the jar will be washed off by the butter and buttermilk.

Pour the buttermilk out and fill the jar with cold water. Wash this around a bit and pour it out again.

You need to do this over and over until the water runs clear.

It's important you get all the buttermilk out of the butter. If there's any left in there it'll go sour, so get the butter out and using a spoon or your hands press the butter and squeeze out all the buttermilk.

Join in here if you've just gone out and bought butter! We're going to add the other ingredients and transform this plain old ordinary butter into Maître d’Hôtel butter. The yield I got from my 1/2 pint of cream was 55g of butter.

Ingredients 1 generous pinch of salt
1 pinch of fresh ground pepper
1 tsp of flat leaf parsley
1/2 tsp paprika
1 tsp lemon juice

Stir in the lemon juice first, then add all the rest of your ingredients.

Roll your butter up in greaseproof paper and twist the ends into a sort of bon bon shape.

Now just put it in the fridge to harden and in an hour or so you'll have a nice solid finished butter.

I warn you, this stuff is addictive. It's delicious melted over vegetables or fish, but I'm more than happy just spreading it on toast as a snack. 55 grams won't last long enough to go off in my fridge, but I recon it would keep for a week or so if I wasn't eating it.

Tuesday 24 July 2012

Cheddar

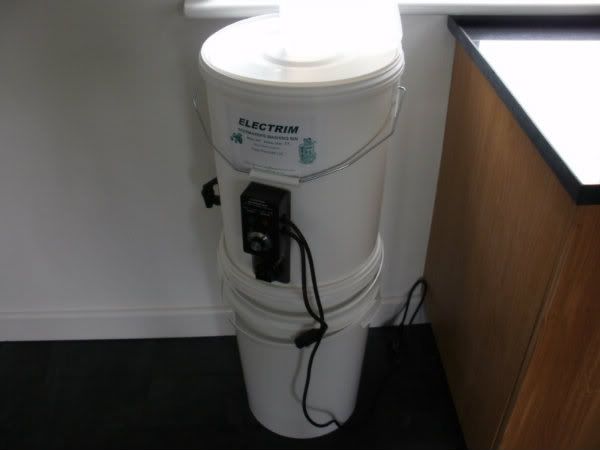
I'm not going to lie, making cheddar is pretty hard work. I personally get a sense of self satisfaction at the end of it that makes it worth it but you should be pre-warned that you probably want to wait until you have a couple of days where you can afford to bum around the house and start it in the morning. I decided to make life a bit easier for myself and used some of my brewing kit this time, it certainly took a fair bit of effort out of the whole process.

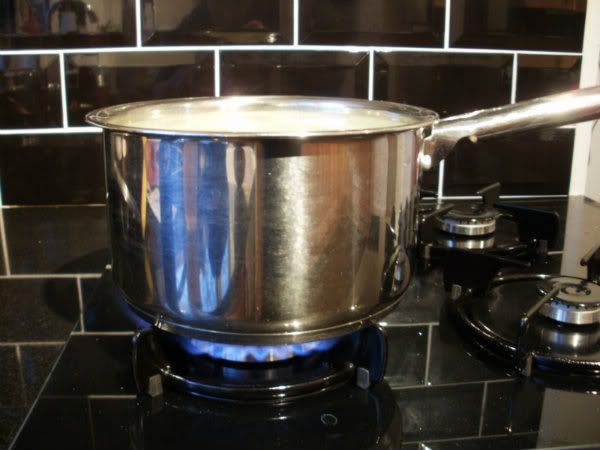
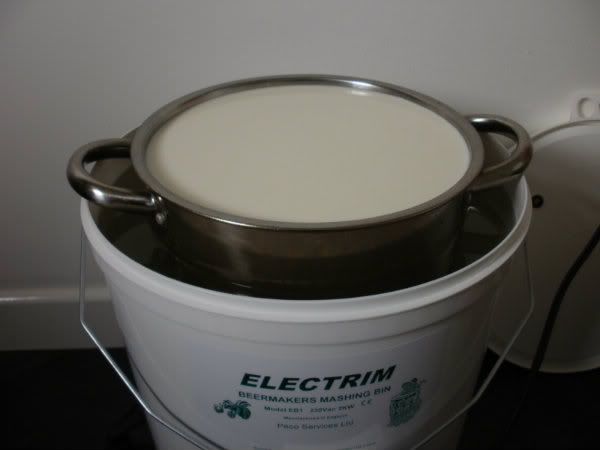
I used 6 litres of whole fat cows milk at room temperature. Last time I made cheddar I used Jersey cow's milk, which was lovely, but not so convenient to source. After sterilising everything stir in 2 ounces of mesophyllic starter and leave it for about 45 minutes to an hour to sour. Then bring the milk up to 30degC in a water bath. This was where my mash tun came into play, the other way to do this is to hog the kitchen sink for the whole day and have to continually drain out the cold water and top up with hot to maintain the temperature.

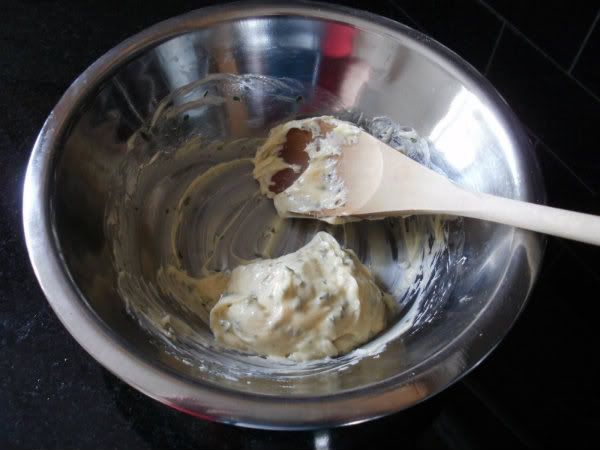
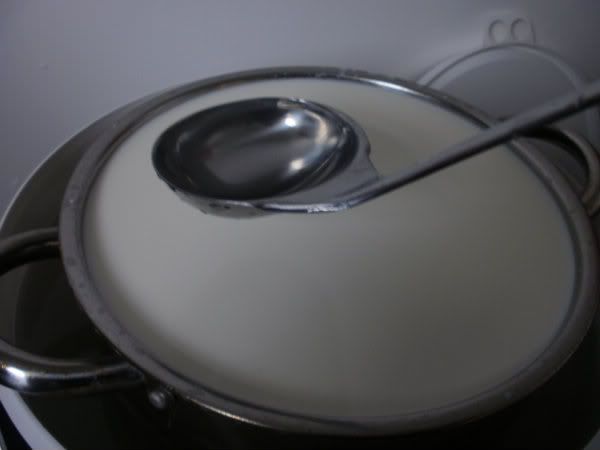
Stir in about 1/4 teaspoon of mesophillic starter diluted in 2 teaspoons of water into the milk using a ladle. Rennet sinks so to evenly distribute it you need to stir in an up and down kinda motion.

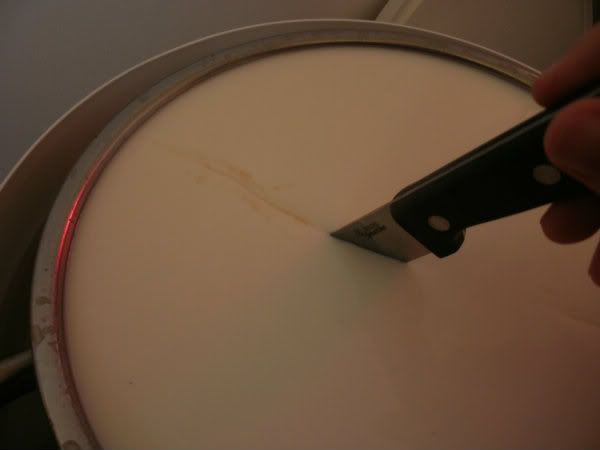
After about an hour check on the milk. You're looking for what’s called the clean break - the point where the thermometer cuts through the milk rather than just submerging into it. It becomes a bit like a thin set jelly. At this point cut the curds into 1/4 inch cubes. This means cutting cross ways, lengthways, and then the same again but with the knife at a diagonal to cut across. For smaller cubes that you would cut for harder cheeses such as parmesan you can get away with using a balloon whisk, twisting the whisk as you lift it up and down in the milk.

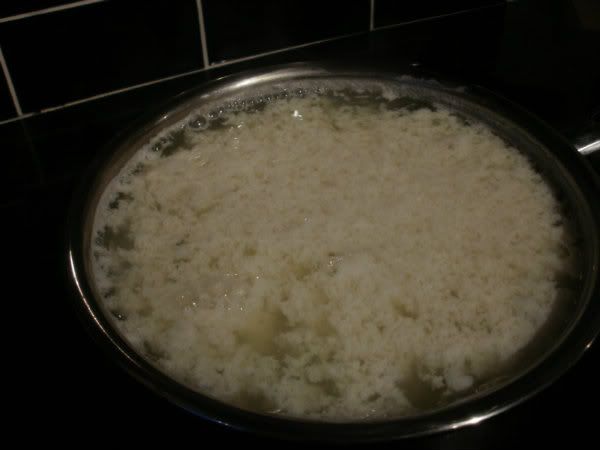
Very soon, after about 5 minutes, the whey will drain from the curds and you'll see the curds floating in the whey. These need gentle stirring occasionally to prevent the curds from re-matting.

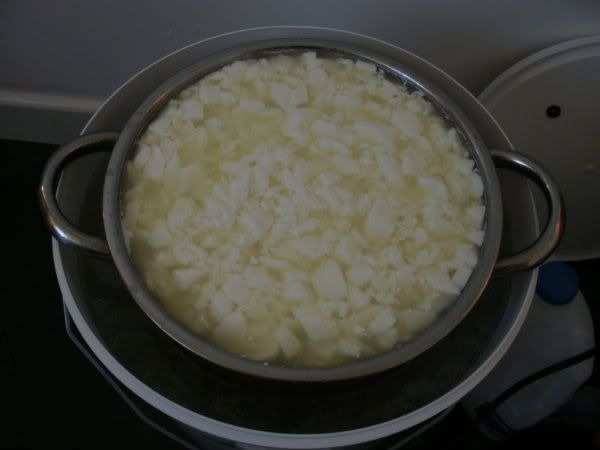
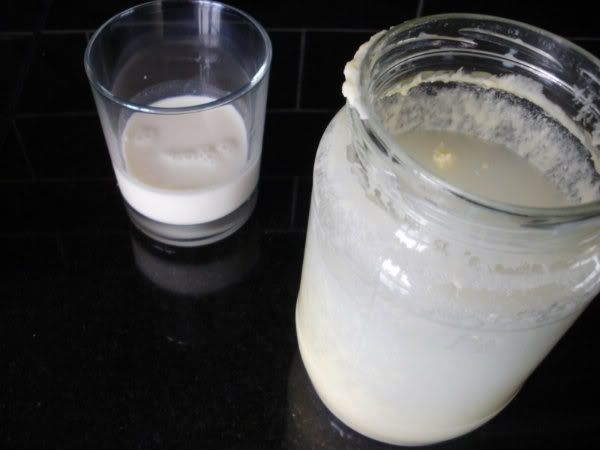
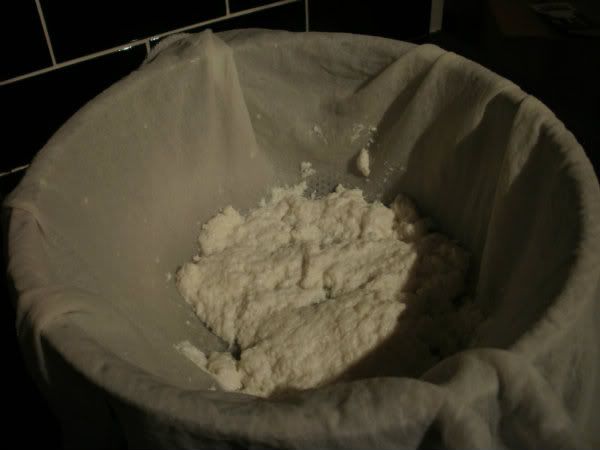
Over the next 30 minutes the temperature needs to be slowly brought up to 40degC, then maintained at this temperature for another 30 minutes. Remember to tend to your curds and stir them during this time. After this hour you can leave them at 40degC for 20 minutes before gently ladling into a colander lined with cheese cloth. I retain the whey at this point and make ricotta. The colander is then placed back in the pot and left to set for about 20 minutes.

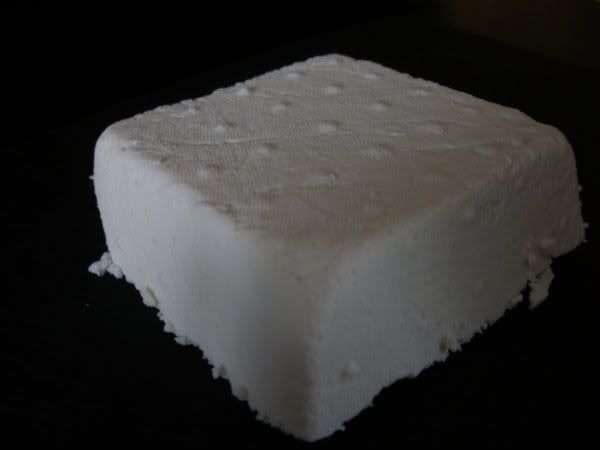
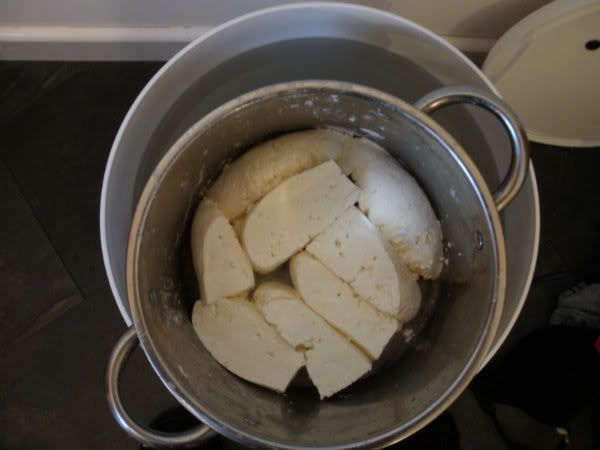
When you turn it out onto a cutting board you'll have this sort of cake.

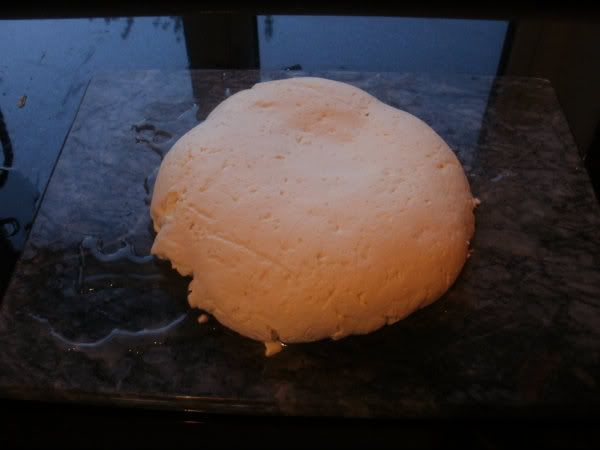
Then, using a sharp knife as the cake is very delicate, cut the cake in half and then across in about 2 inch slices. These then go back into the pot which is still being kept at a constant temperature of 40degF, the process is called cooking the curds. Every 15 minutes they need turning and the excess whey pouring out. Do this for 2 hours.

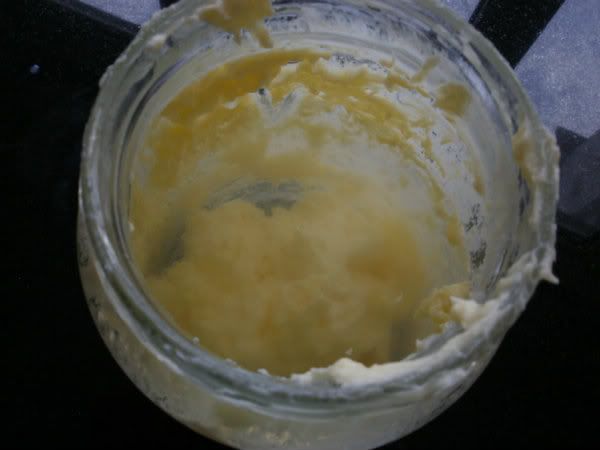
At the end of this the curds will feel a bit like cooked chicken breast. Break them up into about 1/2 inch cubes and cook for a further half an hour, stirring every 10 minutes with your fingers.

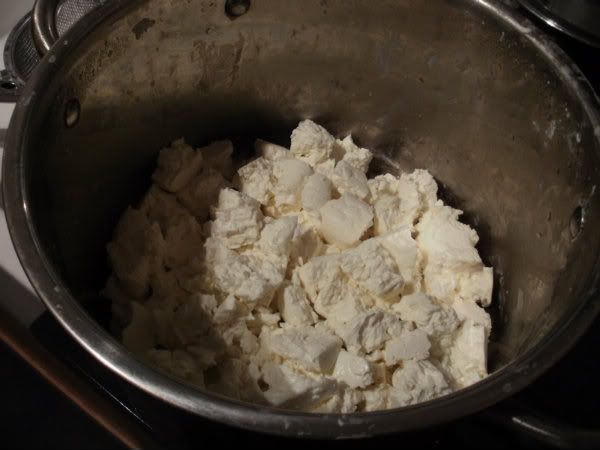
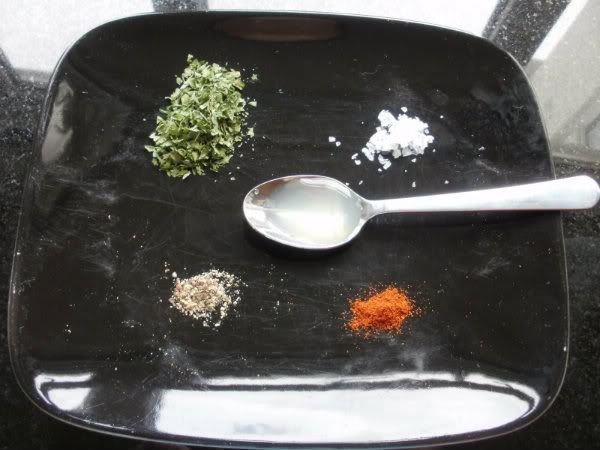
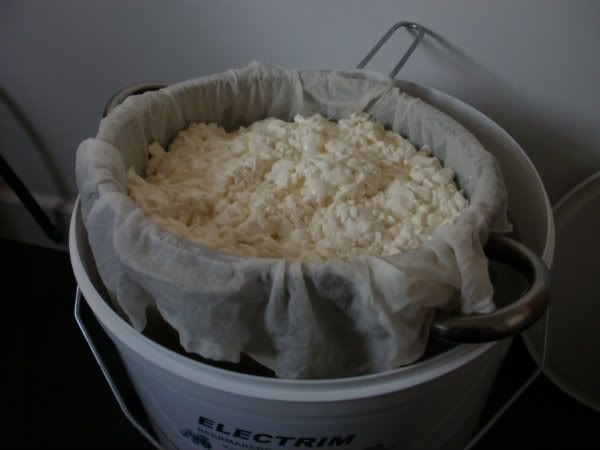
Now add 1 tablespoon of kosher salt and stir it in with your fingers. I just use good quality sea salt. Cram as many curds as you can into moulds lined with cheese cloths and it’s time to take them to be pressed. This is quite a milestone in the whole process, most of the hard work is done now and you can clean your equipment up.

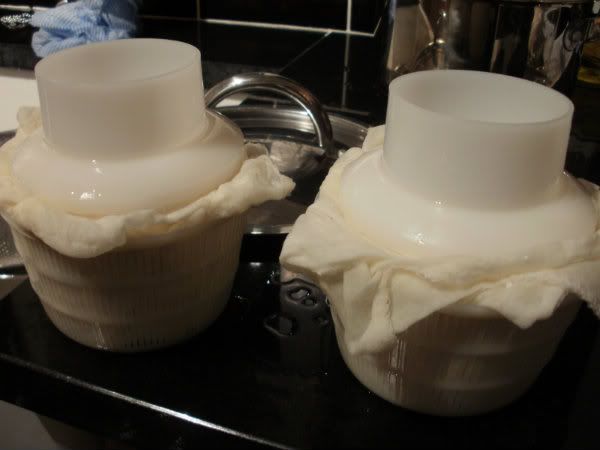
Again my brewing kit made this so much easier. If you've read my post on making halloumi you'll have seen my Dutch style cheese press in action. It's a clumsy piece of kit and so I decided I needed to develop a safer method using my brewing bins. The cheese is in the bottom bin, the top bin sits inside the bottom bin and on top of the cheese. Then I just need to fill it with the volume of water required to press down with the desired force. Much safer!

The cheese is pressed at 4.5 kg (10lbs) of pressure for 15 minutes, then remove from the mould, re-bandage and press at 18kg (40lbs) for 12 hours. Finally remove it again, re-bandage and press one last time at 22.5kg (50lbs) for 24 hours. Finally, you have what resembles a cheese.

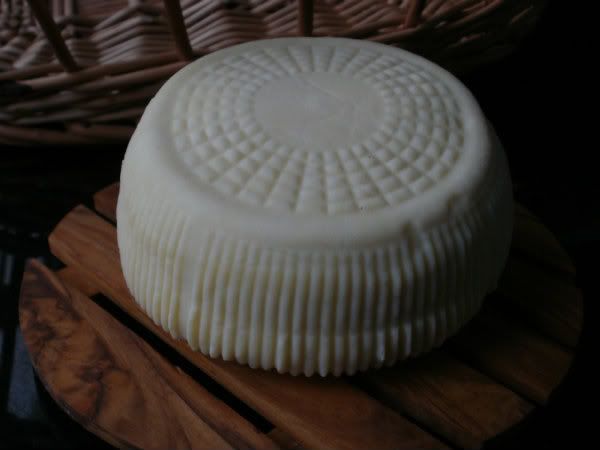
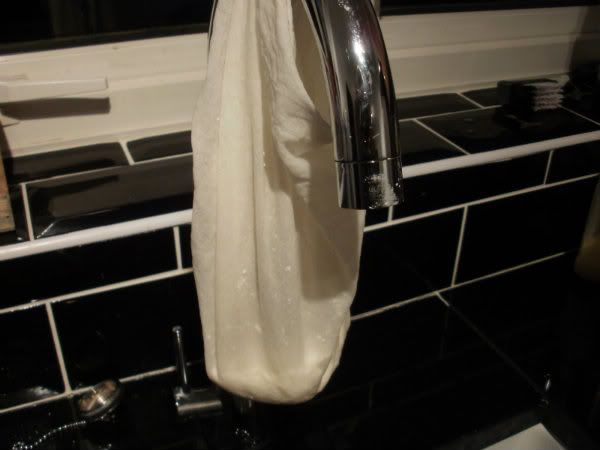
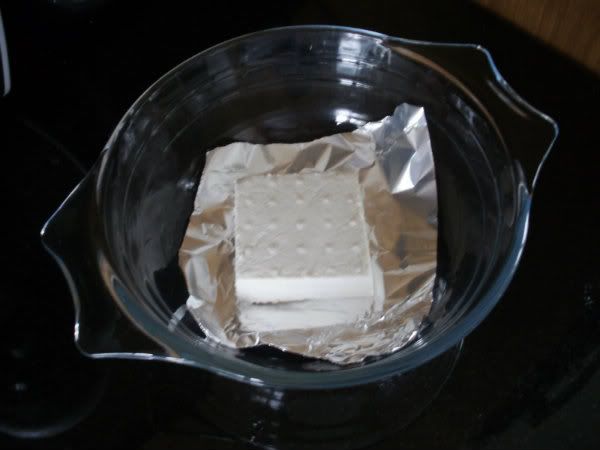
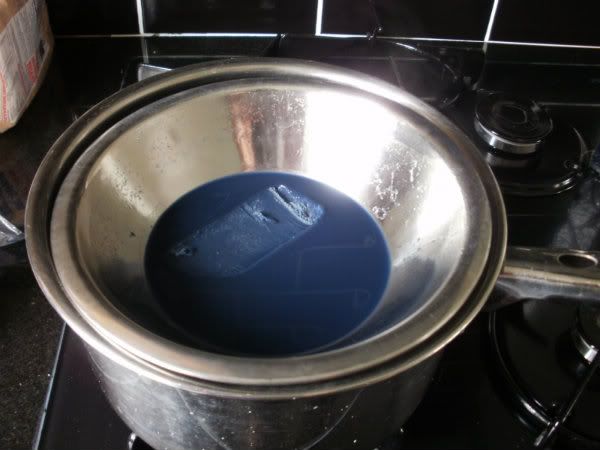
This now needs to be air dried, which is probably the most tense time in the whole process for me. The cheese needs turning regularly and drying evenly and thoroughly. I turn it whenever I walk past it or remember to, and keep them on a board, up high somewhere, covered loosely with some cloth. This can take a few days, but given that you've gone to so much effort to keep everything sterile up to now it's worrying to think that your hours of work are sitting exposed on a shelf in your kitchen. Once dried (as in dry to the touch on the outside) you can move onto waxing the cheese. Melt the wax in a bowl over some boiling water, brush the cheese all over in vinegar to kill off anything it may have picked up whilst drying and dip it in the wax to coat it.

I like to give it a good thick coat of wax and make sure it's well protected. It's now ready to be aged.

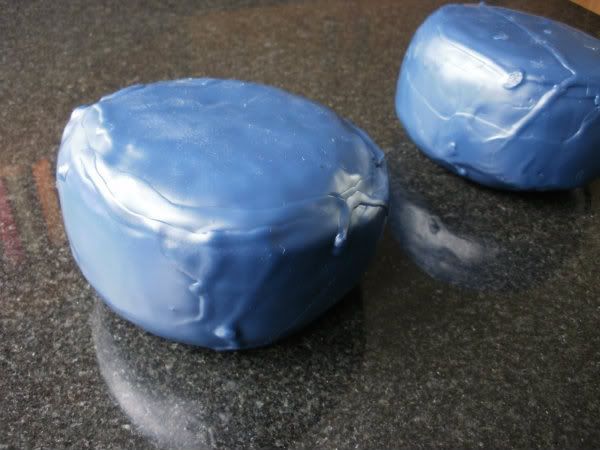
I like mature cheddar so I'll be leaving these 2 for about a year before coming back to them. For the first couple of weeks I'll monitor them closely and turn them daily, just to check that the waxing went OK and no nasty infection might have crept in there. It'll be well worth it in a year when I get to try them!

Friday 20 July 2012

Moroccan Lamb Tagine

Right, if I'm going to mess about with something like tagine I'm going all out and I'm going to make this as rich, whilst remaining as authentic, as possible. So I've researched a few recipes, a bit of history, checked up on a few individual ingredients and come up with my own recipe. I noticed that some of the recipes I found had ingredients that had obviously been thrown in for a Northern palate, and some omitted ingredients that really really should be in there. I've gone for a Moroccan lamb tagine recipe and tried to reflect Morocco's access to a wealth of spices and seasonings. Strictly speaking, preserved lemons are probably more often combined in chicken cuisines with olives. I've been looking for an excuse to make some for a while now though and lemon and honey or lemon and coriander seemed to kinda fit, also it would be a shame to waste the opportunity to work with such a classic Moroccan ingredient. I would have preferred to use neck of lamb because it's an awesome and often overlooked cut, but I couldn’t find any and shoulder did the job just as well. I'm not using shank in tagine though, as to me shank = a pot + red wine, onions, garlic, rosemary, cinnamon...

Ingredients
500g Lamb shoulder fillet
350g Tomato
1 large Onion
10 Dried apricots
small hand full of Sultanas (30g)
30 Blanched almonds
1/2 Preserved lemon
2 cloves Garlic
2 Chillis
1 tbsp Honey
2 tbsp Olive oil
1 pint Stock
1/2 tsp Saffron
2 tsp Cumin
1 1/2 Turmeric
1 tsp Ground cinnamon
2 tsp Paprika
a handful of Coriander leaves
a small handful of Mint leaves

Quite an impressive list, but I love this process of collecting and measuring out all the ingredients before I get started.

I put the oven on to 160degC to preheat and began by roughly chopping up my lamb into cubes about an inch or so thick and coating them in the cumin, turmeric, cinnamon and paprika.

I let this sit whilst I prepared the rest of my ingredients. This involved blanching, peeling and coring the tomato; I did this in a bowl so as not to lose any juice as I'll need that in a bit. The weight that will go in the actual pot will be 250g, I put 350g in the ingredients list to make sure I'd have enough after this. I diced the onion, thinly sliced the preserved lemon, minced the garlic and de-seeded and chopped the chillis.

I heated the oil in a pan and fried off the lamb making sure it was evenly coated in oil and browned all round before emptying it into my tagine pot.

Then I fried off my onions in the same pan until they had just begun to sweat and soften and poured in my tomato, juice and all, to cleanse the pan. I poured the onions and tomato over the lamb and then added all the other ingredients, minus the coriander and mint, finishing by pouring the stock all over and sprinkling on the saffron. I gave the whole thing a good stir, put the lid on and popped it in the oven for 3 hours. I think I stirred once in that time, more to satisfy my lust and curiosity for the aromas that were filling the kitchen than anything else.

I brought my pot to the table, tore up the coriander and mint leaves, threw them in the tagine and stirred them in before serving.

It was meltingly tender and incredibly juicy, it needs serving up with a bread to soak up all those juices. I suggest khoubz, which I'll post up the recipe for some other time.

Wednesday 18 July 2012

Even healthier breakfast muffins

Since making my first batch of muffins I have decided to adapt my recipe slightly. Not that there was anything wrong with the first one, I just thought making a totally fat free version might be a laugh. I sit at a desk all day, my body has no use for fat. So I subtituted the whole milk for skimmed, used fat free yoghurt and instead of oil I made some apple sauce and added 2 tablespoons of that. My top tip for making any baking recipe fat free is to directly sub the fat for apple sauce, but dont make the same mistake I did. Adding the apple made the mixture go browner whilst baking and the muffins appeared to be burning, leave them in for the full amount of time or they'll be stodgy.

The new muffins did taste just as good as the last ones, although they were a little more chewey, like brown bread. So I probably prefer the whole milk with oil version (I'm not one of those annoying people that refuses to admit that healthy food is not as tasty as fatty food).

Then I thought it might be interesting to break down what you actually get per muffin. Every morning now my breakfast basically consists of:

Half a slice of toast and 1/6 of a boiled egg

16.5g porridge in 20ml of milk, sprinkled with 6.25g sugar and a pinch of cinnamon

and 22g fresh fruit with a teaspoon of yoghurt

Which is actually a fairly well balanced healthy breakfast! Enjoy your guilt free morning cake.

Monday 16 July 2012

Ricotta Infornata

I always make Ricotta when I make a hard cheese now, there's not really a lot of point in throwing away perfectly good whey, so I thought I'd have a go at making ricotta infornata. There's various things can be done with ricotta, this seemed like a nice simple one to experiment with.

So firstly I needed to make some ricotta, here's a quick re-cap on that...

I started with my 6 pints of fresh whey

Which I heated to 200degF and added a little cider vinegar

Which causes albumin proteins to coagulate on the surface.

These are ladled into some cheese cloth

And left to drain a while

That's that done. I salted the drained ricotta, placed it into a lined mould and applied some light pressure for 24 hours to shape it into a block.

The block I baked in a covered oven dish for 20 minutes, then flipped it and baked for a further 20 minutes.

Which gave me this final result:

Texture and taste wise it was very much like tofu, obviously a bit nuttier and creamier though. Usually this is served up with figs and honey but I found that a light salad and some sweet onion relish went well with it, which gives me the idea that in fact this would be great for pressing into a patty shape and serving in a bun as a vegie burger??

Still, I recon theres better things you can do with this stuff. The ricotta infornata I made was quite bland and I think a bit more seasoning before moulding it, or like tofu, marinating a bit before cooking might be a good idea next time.

Thursday 12 July 2012

Breakfast Muffins

I'm not really one for rushing, or doing pretty much anything fast, and the idea of wolfing down breakfast at 6:00am before I leave for work doesn't appeal to me. I prefer to take breakfast at my desk whilst checking my emails just before my working day begins. At the moment this consists of a banana, which is hardly ideal, so I've decided to make up some breakfast muffins to have as my fast food on the go.

Ingredients
200g Plain flour
200g Porridge oats
75g Caster sugar
1 tsp Cinnamon
3 tsp Baking powder
1 tsp Salt
2 Eggs
250ml Milk
2 tbsp Natural yoghurt
3 tbsp Vegetable oil
150g Blueberries
100g Blackberries

I switched on the oven and pre-heated to 190degC (200 if you don't have fan assisted). To start with I sieved all the flour, sugar, baking powder, salt and cinnamon together into a mixing bowl and made a well in the centre. Then I separated the eggs, reserving the whites, and added the yolks along with the milk and yoghurt. This all mixed up into a batter, it doesn't matter if it's a little lumpy.

Next I poured in the oil and stirred fast until it was fully incorporated into the batter, then added the oats and mixed them in before add in the fruit which a carefully stirred in to avoid damaging the berries.

Finally I whisked the egg whites until they were light and fluffy and formed peaks and folded them in with a metal spoon.

I divided the mixture evenly over 12 muffin cases...

... and baked for about 30 minutes until they were nicely brown on the top and when I poked them with a skewer it came out clean.

I haven't made them terribly sweet because I don't have much of a sweet tooth, especially first think in the morning. If you'd like them sweeter then just up the sugar to suit your taste or sprinkle some over the top of each muffin just before baking.

Please consider your IT departments before eating and try not to get crumbs in your keyboards.

Tuesday 10 July 2012

Pickle and halloumi round up

So, before I get back into the swing of things I have one or two things to round off first. I'll begin with the pickles (beetroot and shallots) that I began back in March.

The beetroot I'm not so sure about. They're a bit tough, should have removed that peel and part boiled before roasting I think. I kind of expected that but it was an experiment anyway. I'm happy with the flavours though, just the process that needs the work here.

The shallots worked very much as planned though. The cider vinegar is, to my taste at least, far prefferable to malt vinegar pickled onions and they were hot with spice. Luckily I had a cheddar I made about 14 months ago that I deemed mature and ready to go at, so I baked some bread and treated myself to a mini homemade ploughman's lunch.

and finally the Halloumi...

This kept well in the tub I had stored them in and came with us to the new house. I opened it up, removed a piece and washed it under the tap to remove some of the excess brine. Then I trimmed it to a neat square and sampled the trimmings to see how it had gone.

Success! We have tasty mature halloumi. So now it was time to assemble some other ingredients and use it in some cooking.

I used:
2 slices of halloumi
1 aubergine
2 ripe tomatoes
1 clove of garlic
1 tbsp of olive oil
Salt and Pepper

I skinned the tomatoes and minced the garlic then cooked them down into a simple sauce in the oil with a pinch of seasoning.

The sliced 4 round cross sections of aubergine and grilled them with the halloumi until the aubergine was tender and the halloumi was slightly browned and crispy on the surface. The halloumi I prevented from drying out by dribbling a tiny amount of oil on top.

Then I stacked them up and they made for a nice little lunchtime snack.

Right, now onto some new projects!